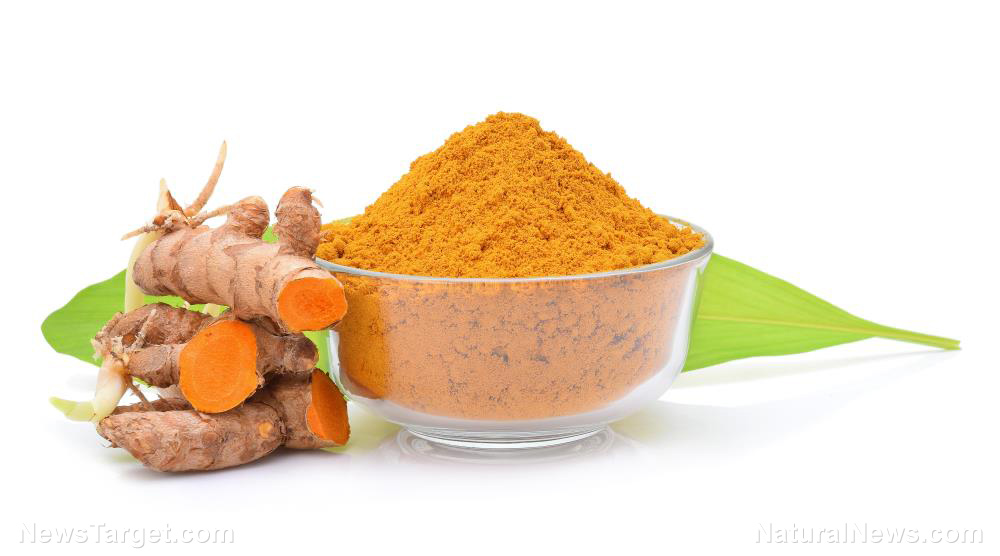
Here’s how to make your own healthy, zero-waste herbal tea blends
09/04/2021 / By Zoey Sky

Herbal tea is a nutritious drink with many health benefits. It’s also available in different flavor combinations that suit your taste and the benefits that you are after.
But did you know that commercially prepared herbal tea blends also produce a lot of plastic waste? If you want to enjoy a plastic-free cup of tea, learn how to make your own herbal tea blends at home.
The health benefits of herbal tea
Herbal tea helps boost the immune system because it is full of many vitamins and antioxidants. Ingredients for herbal tea can also help boost your digestive health, prevent colds, lower blood pressure, reduce inflammation and even relieve anxiety and stress.
Unfortunately, studies have revealed that practices surrounding tea drinking have become increasingly wasteful. According to a study in the American Chemical Society’s Journal of Environmental Science and Technology, brewing a single plastic tea bag releases 11.6 billion microplastics (miniscule plastic particles) and 3.1 billion nanoplastics that are 1,000 times smaller than an algal cell yet very harmful to marine life.
Modern tea bags are made up of at least 25 percent plastic, with a plastic polymer used to seal and maintain the shape of the bag when dipped into steaming water. Even paper tea bags still contain plastic materials.
Read on to learn how to make zero-waste herbal tea blends.
Buy or grow herbs and flowers for your tea blends
If you don’t have a garden at home or space in your apartment for a container garden, buy fresh, organic herbs from the grocery store.
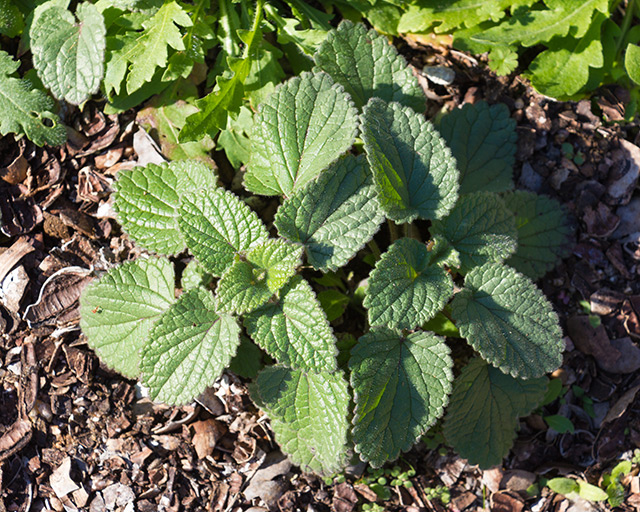
If you do have a home garden, growing different herbs and flowers for herbal tea blends ensures that you avoid plastic waste and save money on some of the more expensive herbs.
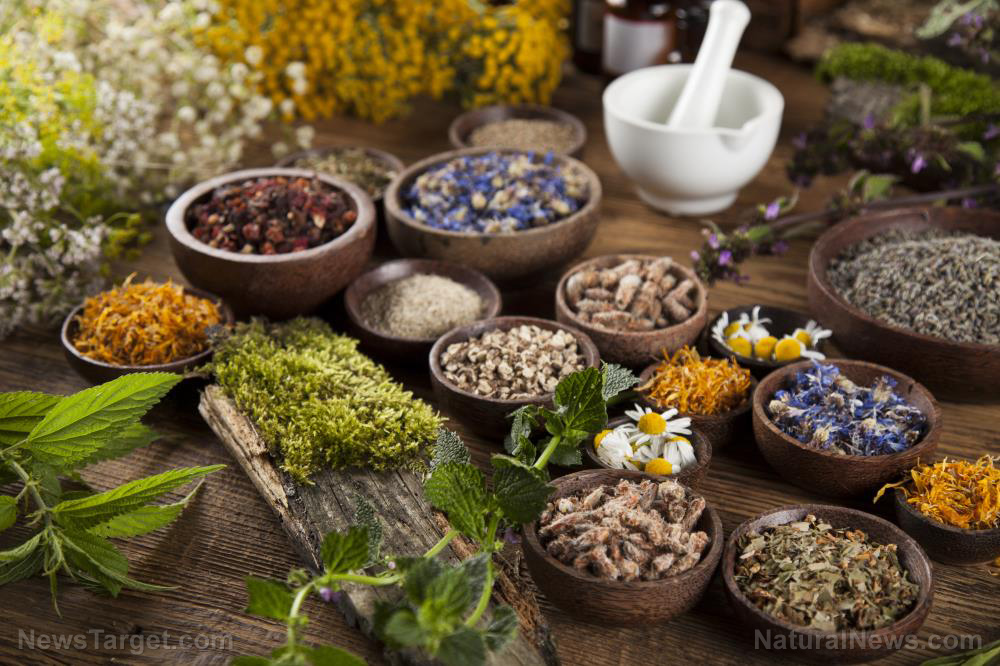
Here are some flowers and herbs that you can grow or buy for your herbal tea blends:
- Basil
- Chamomile
- Cilantro
- Fennel
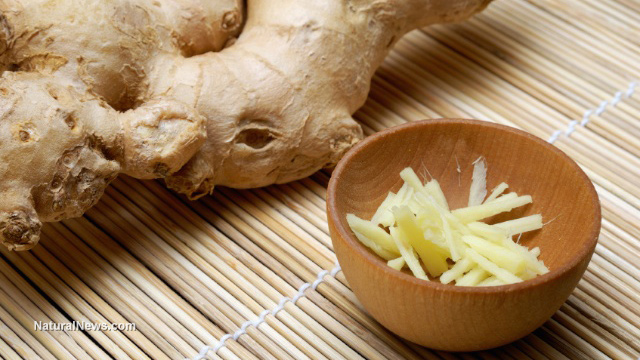
- Ginger
- Jasmine
- Lavender
- Lemon balm
- Lemongrass
- Lemon verbena
- Marjoram
- Mint
- Rosemary
- Sage
- Stevia
- St. John’s wort
- Thyme
- Viola
Grow herbs from seed or purchase nursery plants or starts from a local grocery, garden store, or a local farm.
Fill pots about six to 12 inches deep with organic potting soil or space plants out in a long container. Don’t use normal garden soil because it will compress over time and leave little room for proper aeration.
Follow the instructions on the seed packet when planting seeds. Most of the time, you need to place a few seeds on top of the soil and cover them with a bit of potting mix.
Keep the dirt moist until sprouts appear. If the soil is drying out too quickly, cover the pots with a plastic bag to retain some humidity.
Another option is to fill the bottom two to three inches of the pot with soil and carefully transfer nursery plants. Gently pry the roots apart and fill the remaining space with soil.
Keep the potted plants in an area where they will receive at least six hours of sunlight a day. If you’re keeping the plants indoors, use a grow light.
Herbs should only be watered when the soil is dry an inch or two under the surface. Note that soil dries out more quickly in the winter when heat is turned on, so your plants might need to be watered more frequently. (Related: The 12 health benefits of osmanthus tea, a caffeine-free beverage.)
How to dry fresh herbs and flowers
You can use both fresh and dried herbs and flowers to brew tea. But if you’re not ready to use fresh ingredients, you can dry them before creating your blend.
Different plants can be dried using three different methods: Air drying, drying in an oven, or dehydrator.
If you’re growing your own plants, harvest outdoor herbs and flowers in the mid-morning after the dew has dried but not when the sun is too strong. Try to harvest before the afternoon sun starts bleaching the essential oils out of flower petals.
Air drying
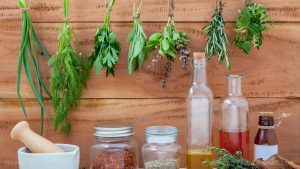
Rinse the herbs carefully to remove dirt or insects before drying. When air drying herbs with branches like basil, mint, oregano, rosemary and thyme, keep enough of the branch to hang them.
Air drying is the easiest method as it requires the least attention and it is considered one of the best options for preserving flavor. However, this method also takes longer than the others.
Your ingredients may need to air dry anywhere from one to three weeks and it’s best used on plants with thicker, waxier leaves, such as rosemary. Gather the herbs with the cut branches facing the same direction, and bind together with rubber bands, string, or wire.
If you live in an area with a dusty climate, prevent dust or debris from gathering on the herbs by wrapping a paper bag with ventilation holes or cheesecloth around the bundle.
Hang the herbs from the stems in a cool, dry room. Drying time may vary depending on humidity levels in your home and the herbs will dry faster in dry climates.
The herbs are ready to be taken down, stripped from the branches and stored once they lose all pliability and easily break or crumble in your hand.
Oven drying
Oven drying can help speed up the process. However, you need an oven that can be set at 135 F.
If the lowest setting on your oven is higher, leave the door open slightly and monitor the temperature. The process can be quick and it may take less than one hour so monitor the herbs. Take them out of the oven once they start to get crispy and crumble easily.
How to create herbal tea blends
Once your herbs and flowers are dried, you can experiment and create your tea blends. Dried blends have a longer shelf stability.
If you’re using fresh ingredients, chop up the larger pieces and mix them together before brewing tea.
Herbal teas follow a basic structure with three main flavors:
- A base (3 parts)
- A complement (1-2 parts)
- An accent (1/2-1 parts)
You can create your own blends or follow a recipe.
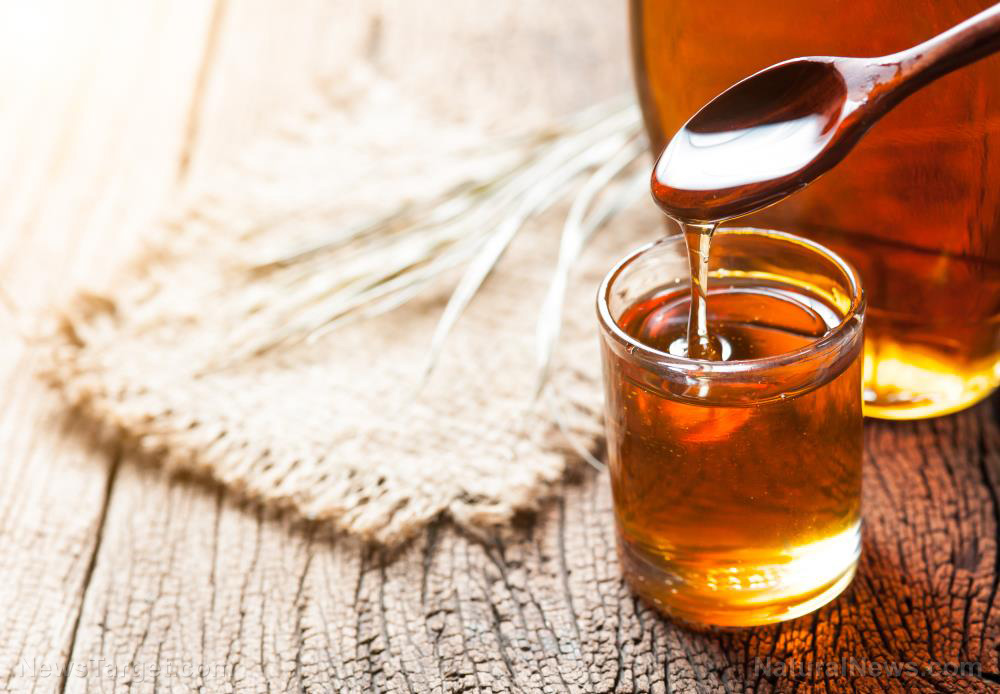
- To give the tea some sweetness or citrusy notes, add honey and dried orange or lemon peels.
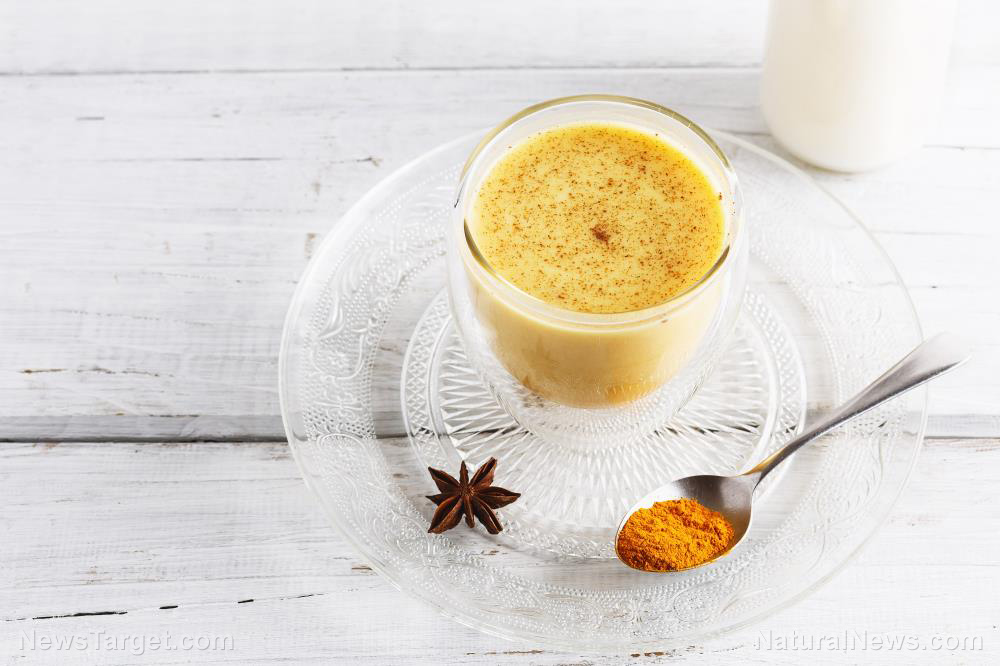
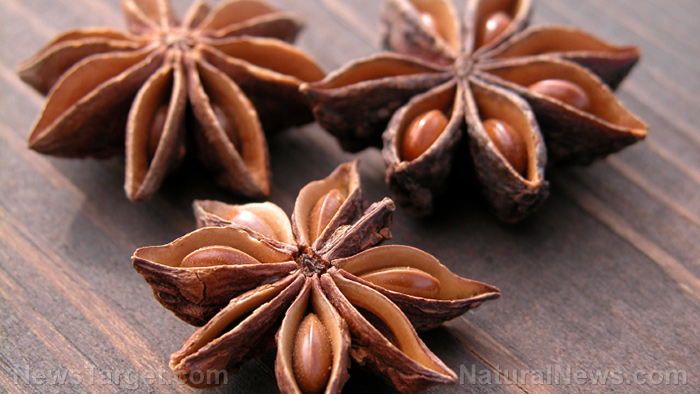
- Use spices like cardamom, cayenne, cinnamon, cloves, peppercorn and turmeric to give your tea a flavor boost.
- If you have a cold, try ingredients like cinnamon, cloves, ginger, honey, lemon, or mint.
- Boost your immune health with ingredients like echinacea, elderberry, hibiscus, lemongrass, peppermint, or turmeric.
- To make a relaxing blend, use ingredients like basil, chamomile, lemon balm, or lavender.
Here are some herbal tea blends to try:
- Chamomile, lavender and mint
- Fresh lemon, rosemary and honey
- Lemon verbena, thyme and lemongrass leaves
- Mint, fennel seeds and ginger
- Orange or lemon peels, cardamom and turmeric
You can also add black or green tea to herbal blends if you want a beverage with an extra kick. Store blends in glass jars or another airtight container.
Tips for brewing herbal tea blends
Before brewing your herbal tea blend, choose waste-free brewing options. Reusable linen tea bags can be washed and refilled, and they’re just like single-use teabags.
Infusers and tea balls are also a good option for homemade tea and you can reuse them. They’re also easy to wash.
To brew your herbal blend, add one teaspoon of dried blend per cup of boiling water. If using fresh ingredients, use two teaspoons per 3/4 cup of water.
Steep dried tea for three to five minutes, or five to 10 minutes when using fresh ingredients. If your blend includes black, green, or other caffeinated tea, steep the tea quickly so the beverage doesn’t become bitter.
Save money by growing herbs and flowers and making your own herbal tea blends with many health benefits.
Sources include:
Tagged Under: DIY, functional food, herbal medicine, herbal tea, herbal tea blends, Herbs, how to, natural cures, natural health, natural medicine, relaxation, remedies, tea
RECENT NEWS & ARTICLES
FoodCures.News is a fact-based public education website published by Food Cures News Features, LLC.
All content copyright © 2018 by Food Cures News Features, LLC.
Contact Us with Tips or Corrections
All trademarks, registered trademarks and servicemarks mentioned on this site are the property of their respective owners.


